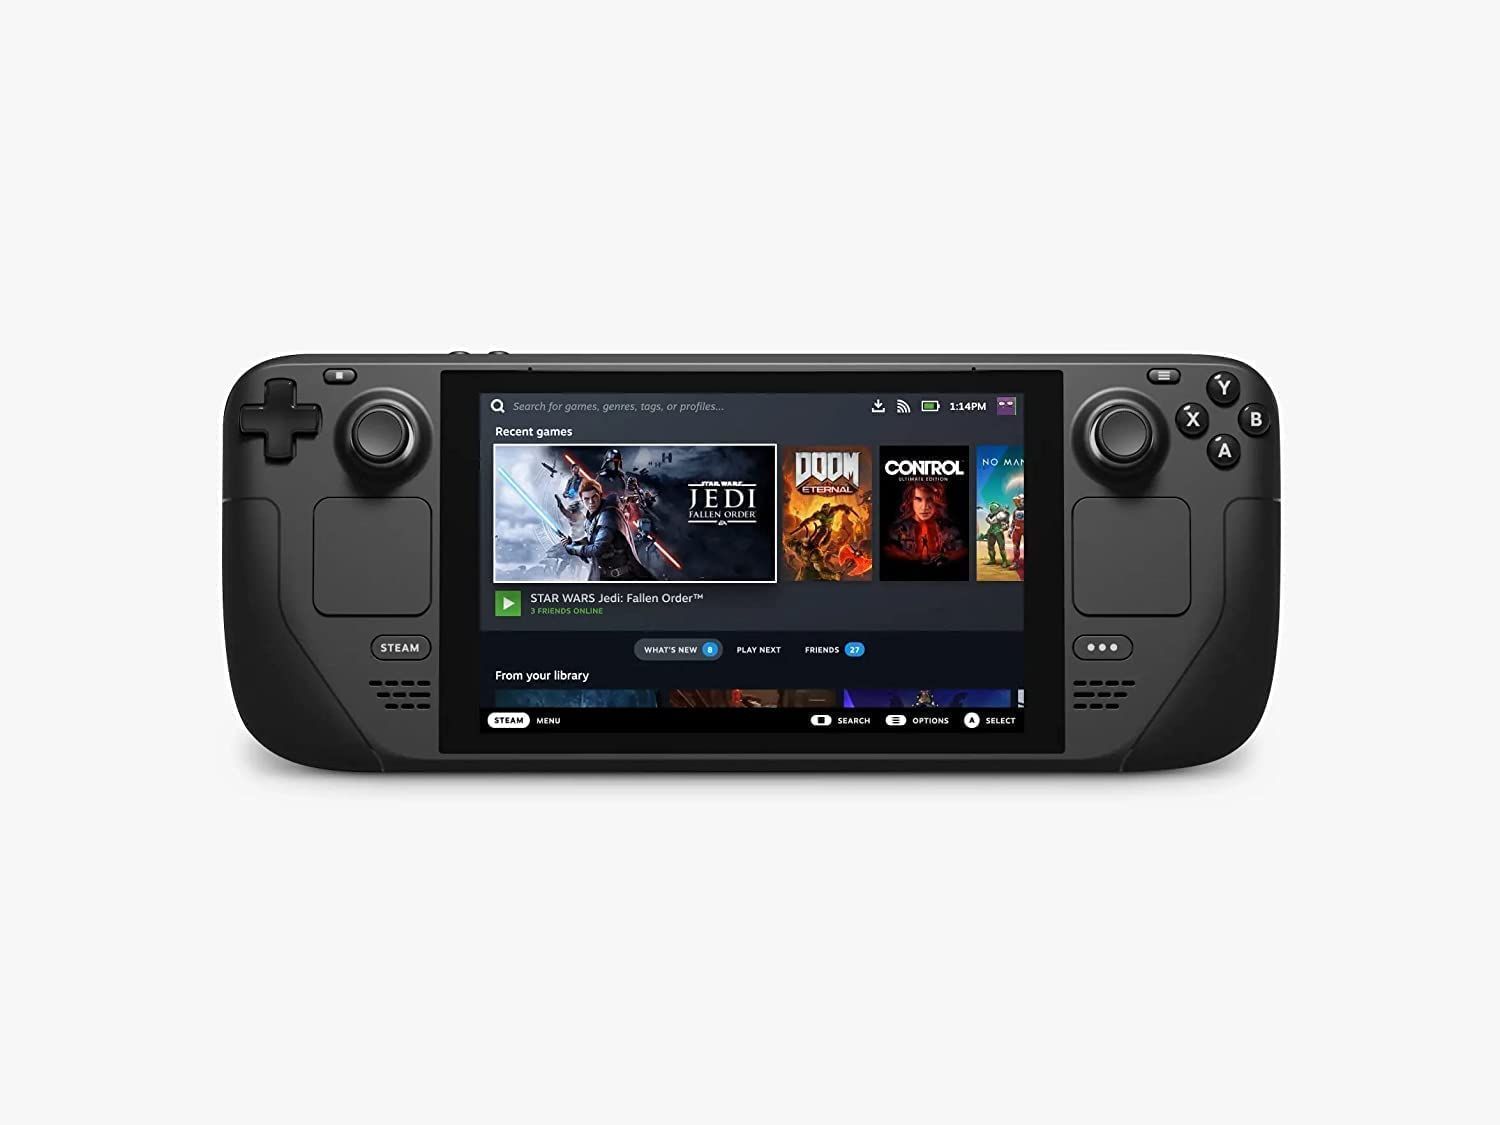
This guide details how to install and play Sega Game Gear games on your Steam Deck using EmuDeck, including optimizing performance and troubleshooting potential issues.
Quick Links
- Before Installing EmuDeck
- Installing EmuDeck on the Steam Deck
- Transferring Game Gear ROMs and Using Steam ROM Manager
- Resolving Missing Artwork in EmuDeck
- Playing Game Gear Games on the Steam Deck
- Installing Decky Loader on the Steam Deck
- Installing the Power Tools Plugin
- Troubleshooting Decky Loader After a Steam Deck Update
The Sega Game Gear, a pioneering handheld console, now finds a new home on the Steam Deck thanks to EmuDeck. This guide provides a comprehensive walkthrough. Recent updates recommend using Power Tools via Decky Loader for optimal performance.
Before Installing EmuDeck
 Preparation is key. Before installing EmuDeck, ensure you have:
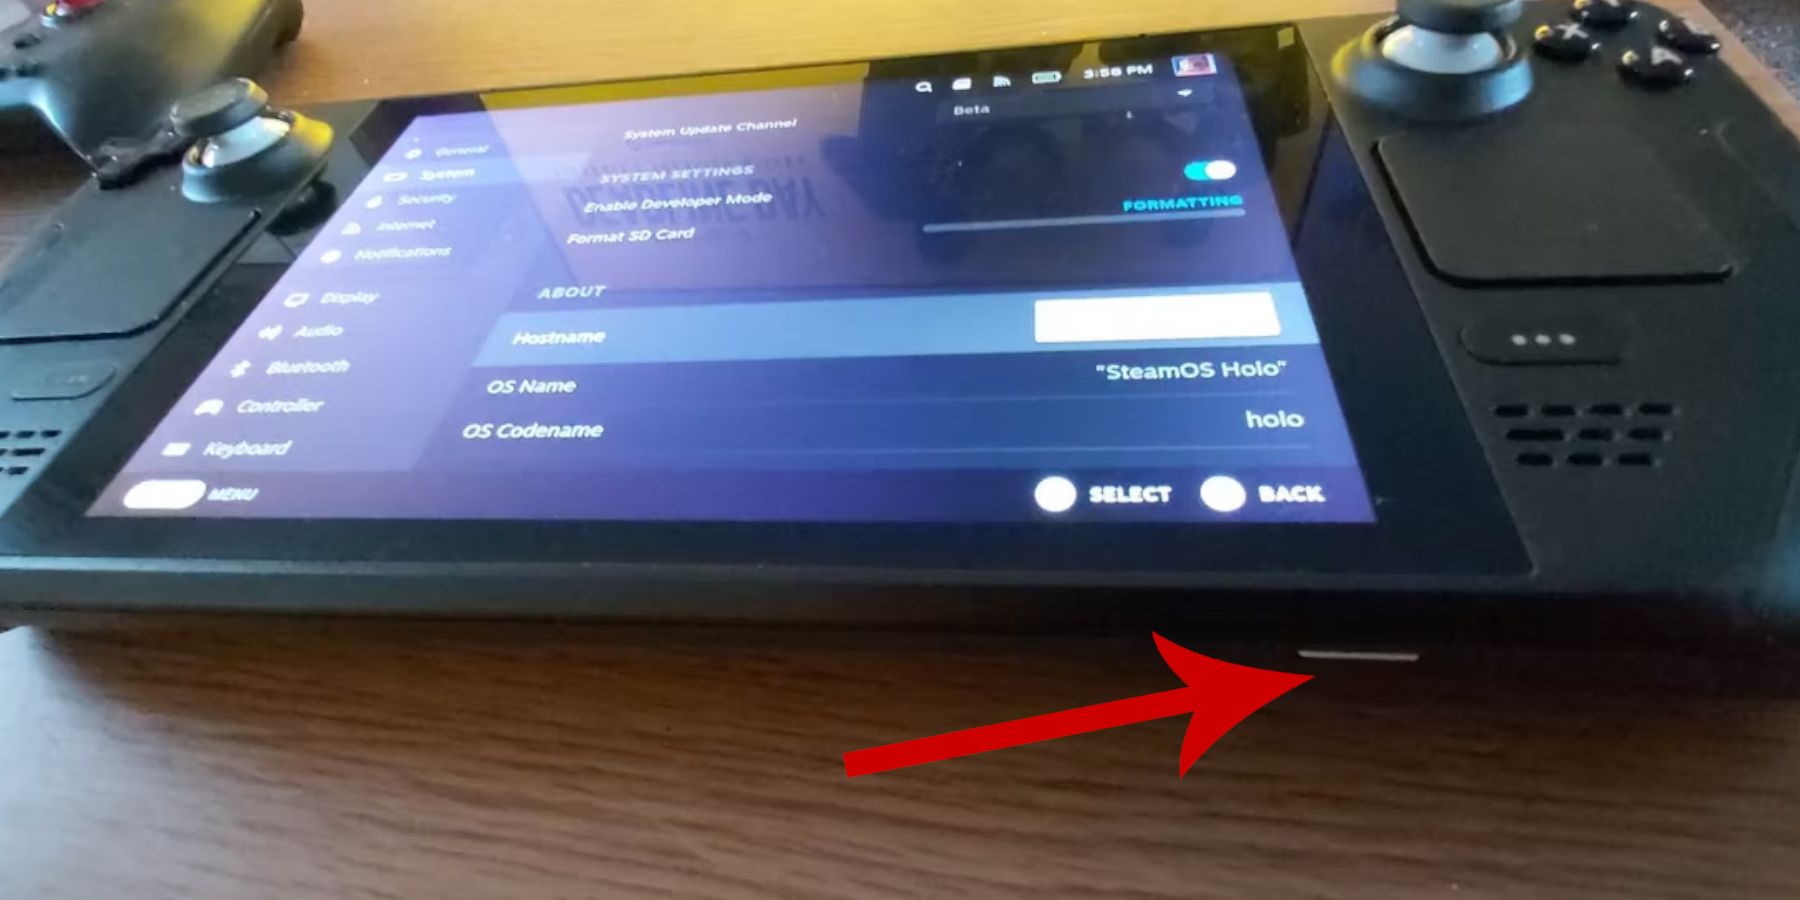
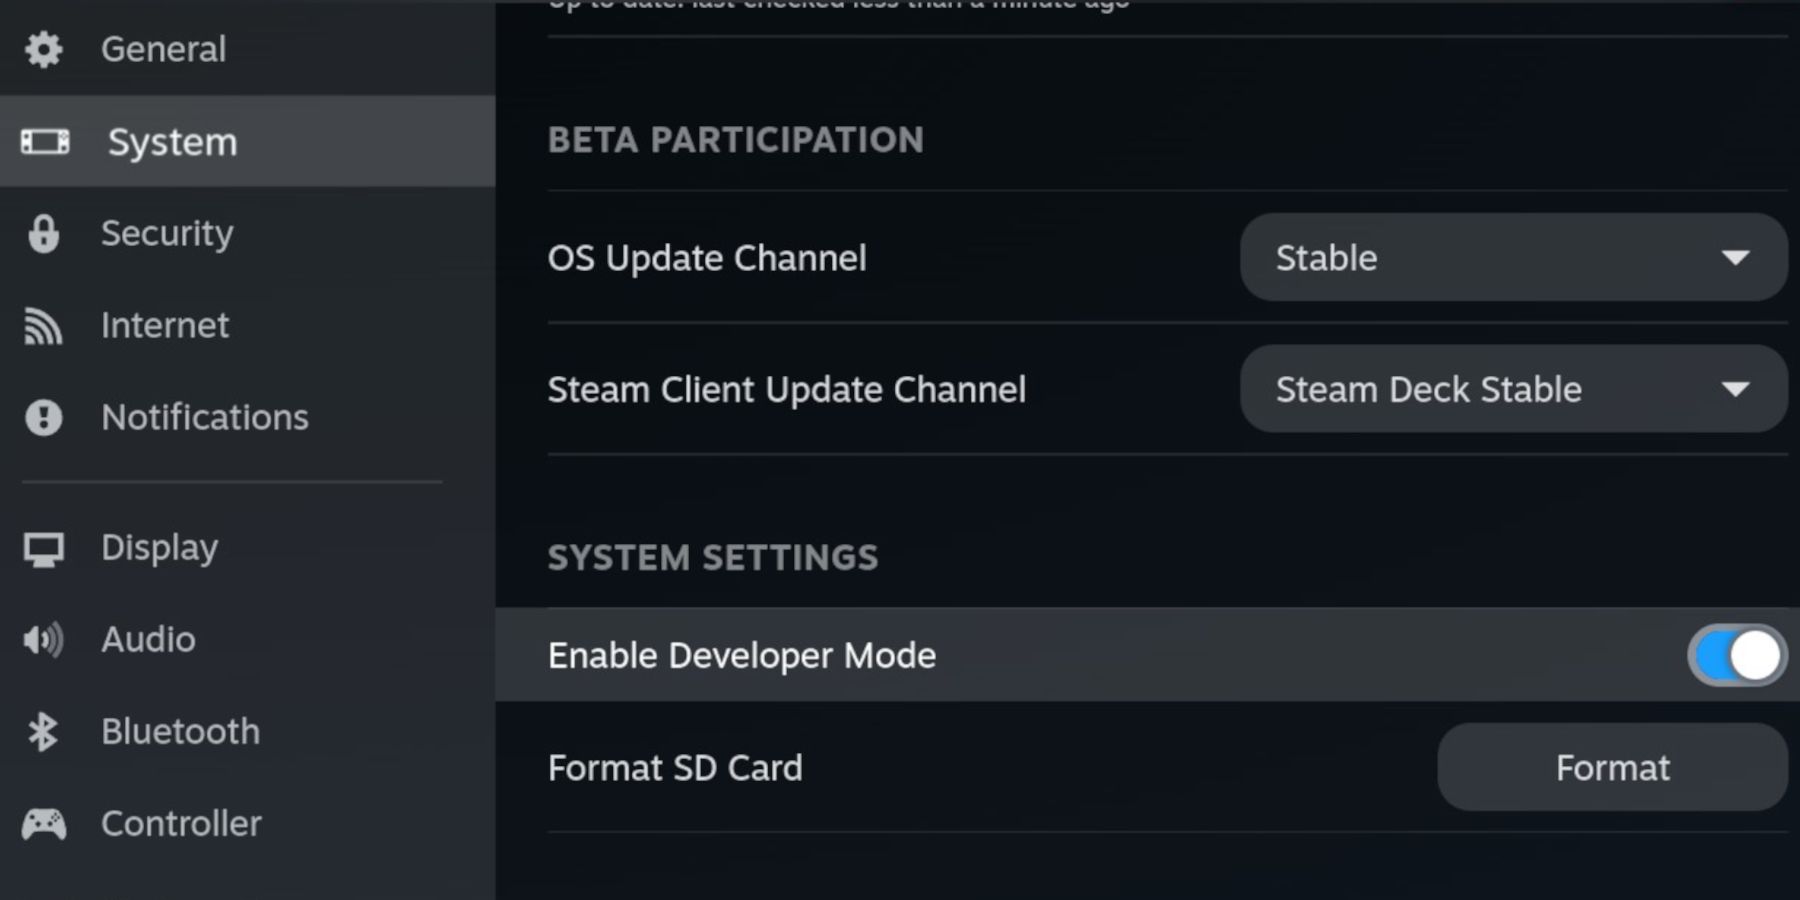
Enable Developer Mode
- Access the Steam menu.
- Navigate to System > System Settings.
- Enable Developer Mode.
- Access the newly appeared Developer menu.
 - Within the Developer menu, locate Miscellaneous.
- Enable CEF Remote Debugging.
- Restart your Steam Deck.
Essential Items
- External Storage: An A2 microSD card is highly recommended for storing ROMs and emulators, preserving your internal SSD for Steam games and applications. Alternatively, an external HDD can be used, but requires a Steam Deck dock.
- Input Devices: A keyboard and mouse significantly simplify file transfers and artwork management.
- Legal ROMs: Ensure you legally own copies of any Game Gear ROMs you intend to use.
Installing EmuDeck on the Steam Deck
 Now, let's install EmuDeck:
- Switch to Desktop Mode.
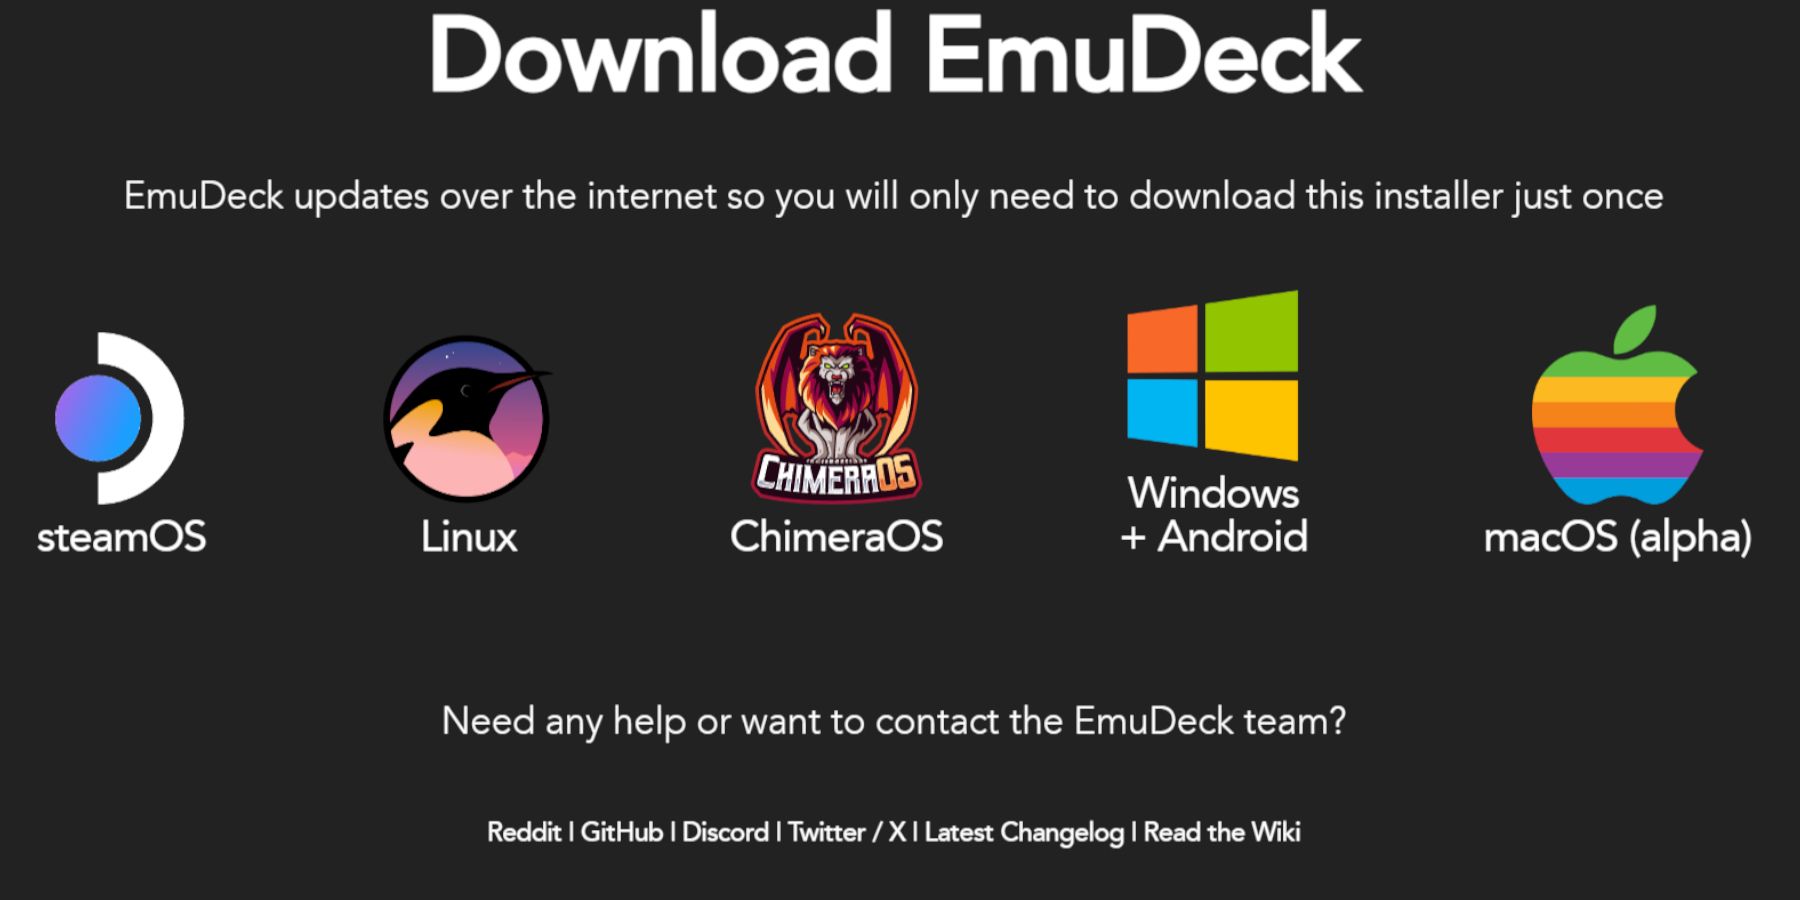
- Open a web browser and download EmuDeck.
- Select the SteamOS version and choose Custom Install.
- Select your microSD card (usually labeled "Primary").
- Choose your desired emulators (RetroArch, Emulation Station, and Steam ROM Manager are recommended).
- Enable Auto Save.
- Complete the installation.
Quick Settings (EmuDeck)
- Access EmuDeck's Quick Settings.
- Ensure AutoSave is enabled.
- Enable Controller Layout Match.
- Set Sega Classic AR to 4:3.
- Enable LCD Handhelds.
Transferring Game Gear ROMs and Using Steam ROM Manager
 Time to add your games:
Transferring ROMs
- In Desktop Mode, use the file manager.
- Navigate to your microSD card ("Primary").
- Locate the
Emulation/ROMs/gamegearfolder. - Transfer your Game Gear ROMs into this folder.
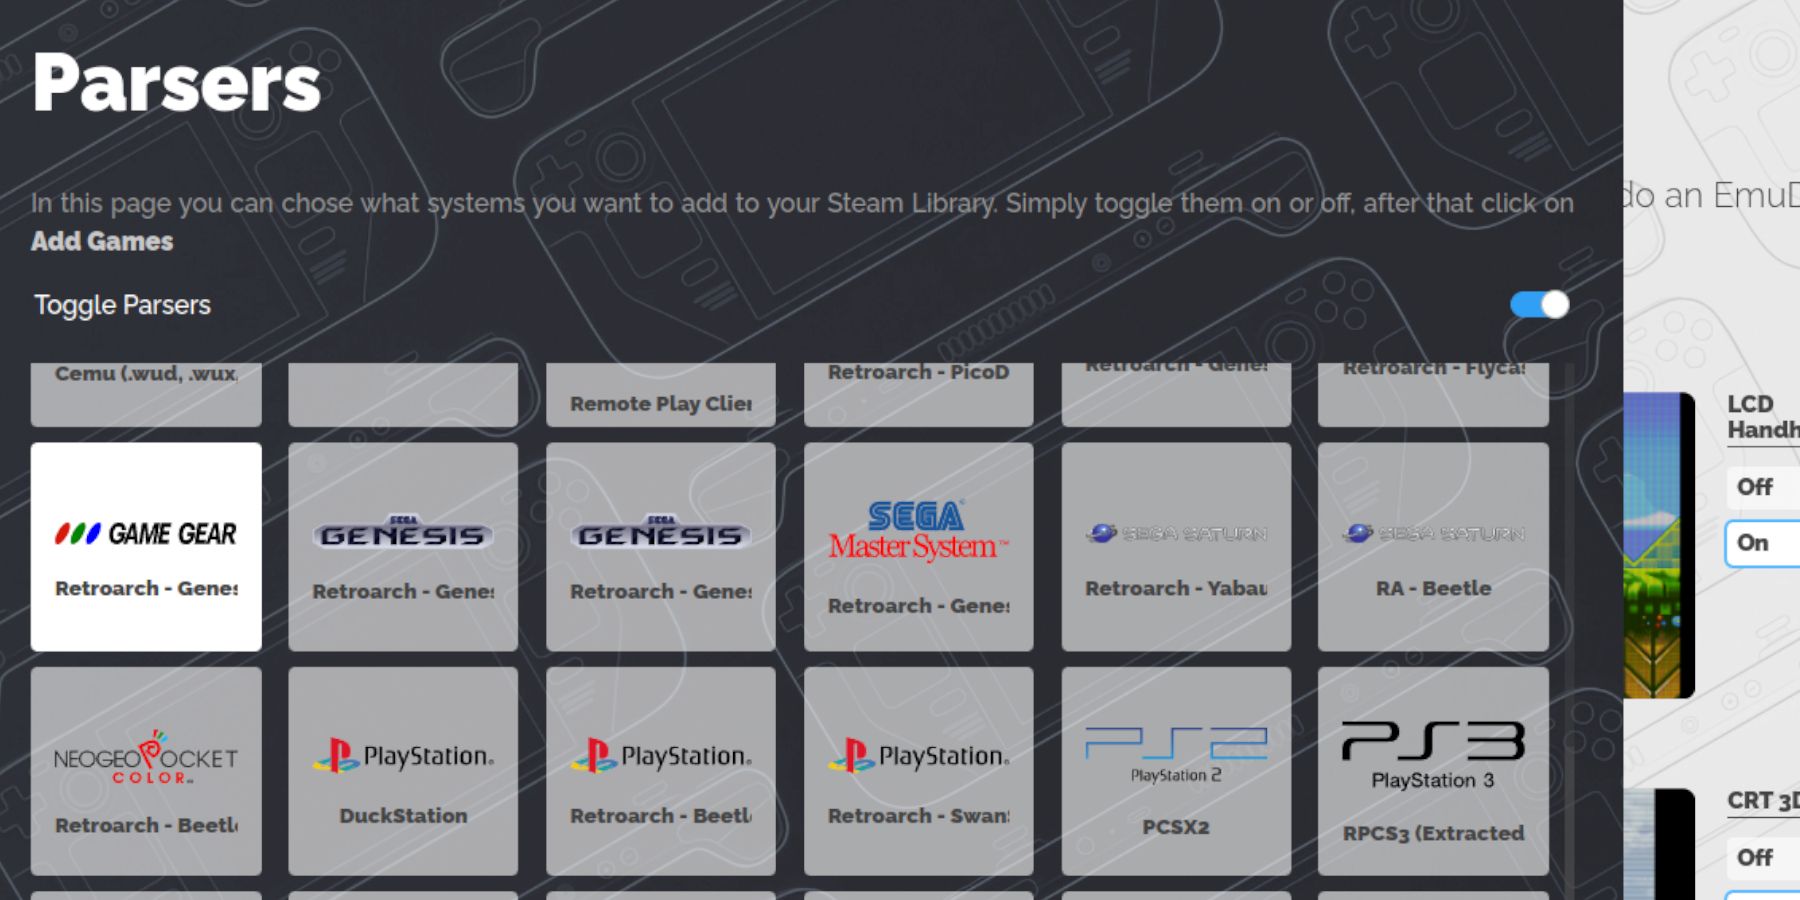
Using Steam ROM Manager
- Open EmuDeck and select Steam ROM Manager.
- Close the Steam Client when prompted.
- Select the Game Gear icon.
- Add your games and parse them.
- Verify artwork and save to Steam.
Resolving Missing Artwork in EmuDeck
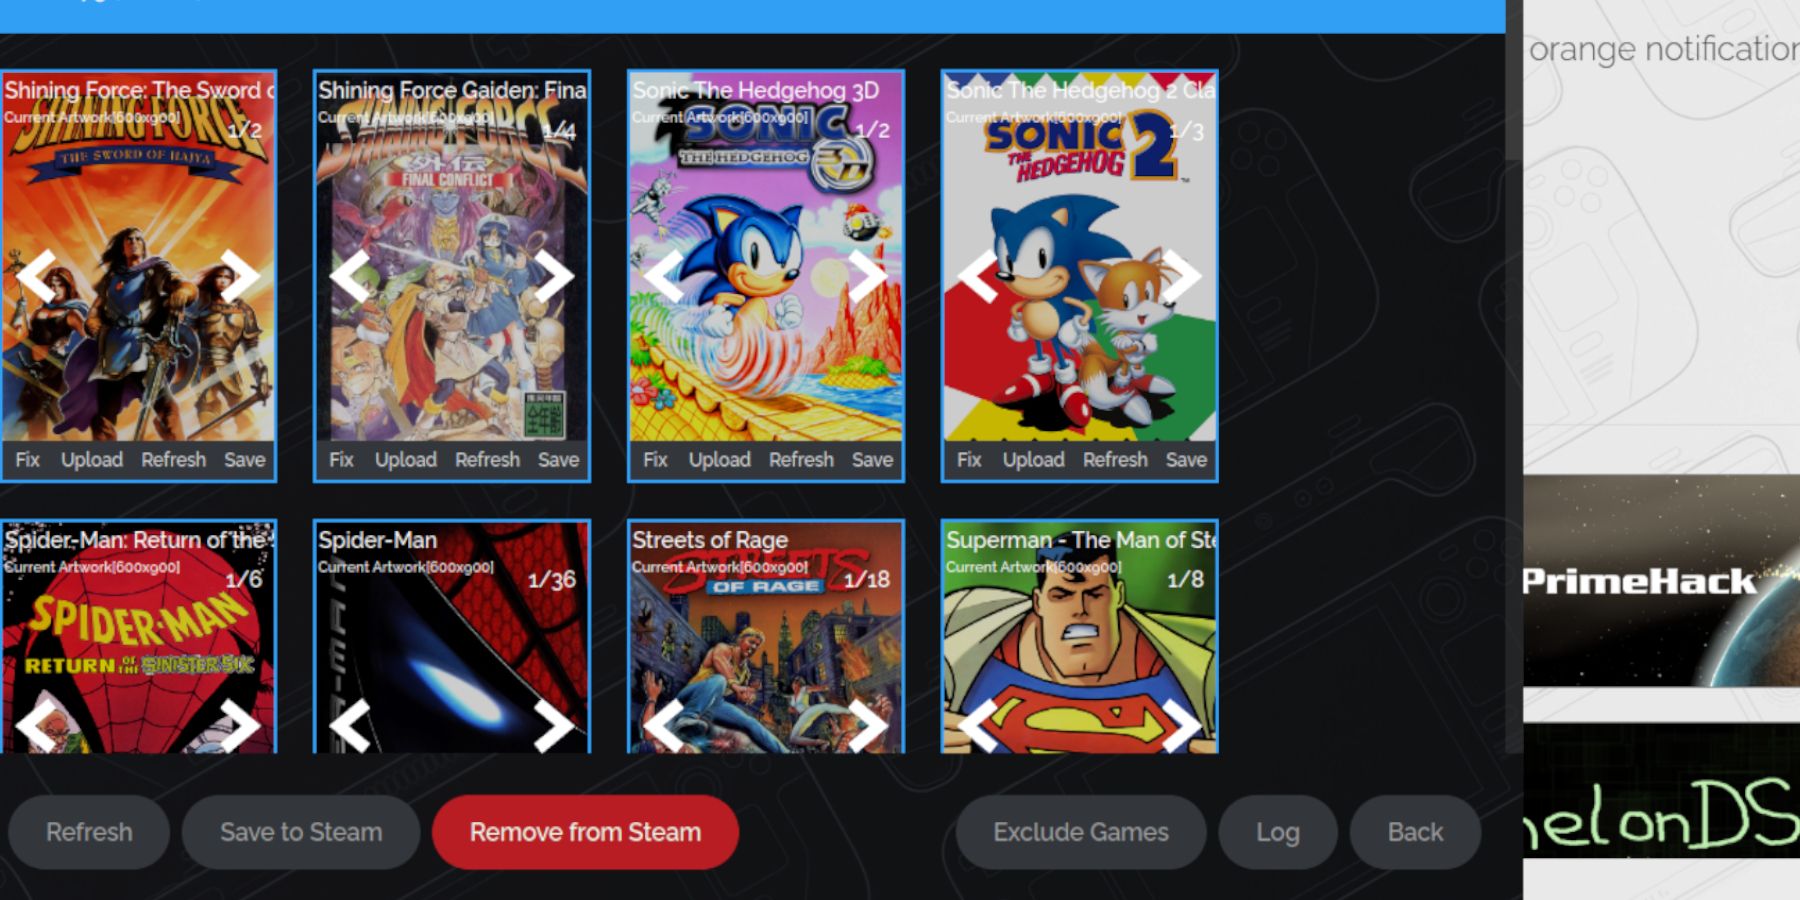 If artwork is missing:
- Use the "Fix" function in Steam ROM Manager.
- Search for the game title.
- Select the correct artwork, save, and save to Steam.
- Remove any numbers preceding game titles in ROM filenames, as this can interfere with artwork detection.
- Manually upload missing artwork via the Pictures folder and Steam ROM Manager's upload function.
Playing Game Gear Games on the Steam Deck
- Switch to Gaming Mode.
- Access your Steam Library.
- Open the Game Gear collection.
- Select a game and play.
Performance Settings
- Access the Quick Access Menu (QAM).
- Select Performance.
- Enable per-game profiles.
- Set the Frame Limit to 60 FPS.
Installing Decky Loader on the Steam Deck
 For enhanced control:
- Switch to Desktop Mode.
- Download Decky Loader from GitHub.
- Run the installer and choose Recommended Install.
- Restart your Steam Deck.
Installing the Power Tools Plugin
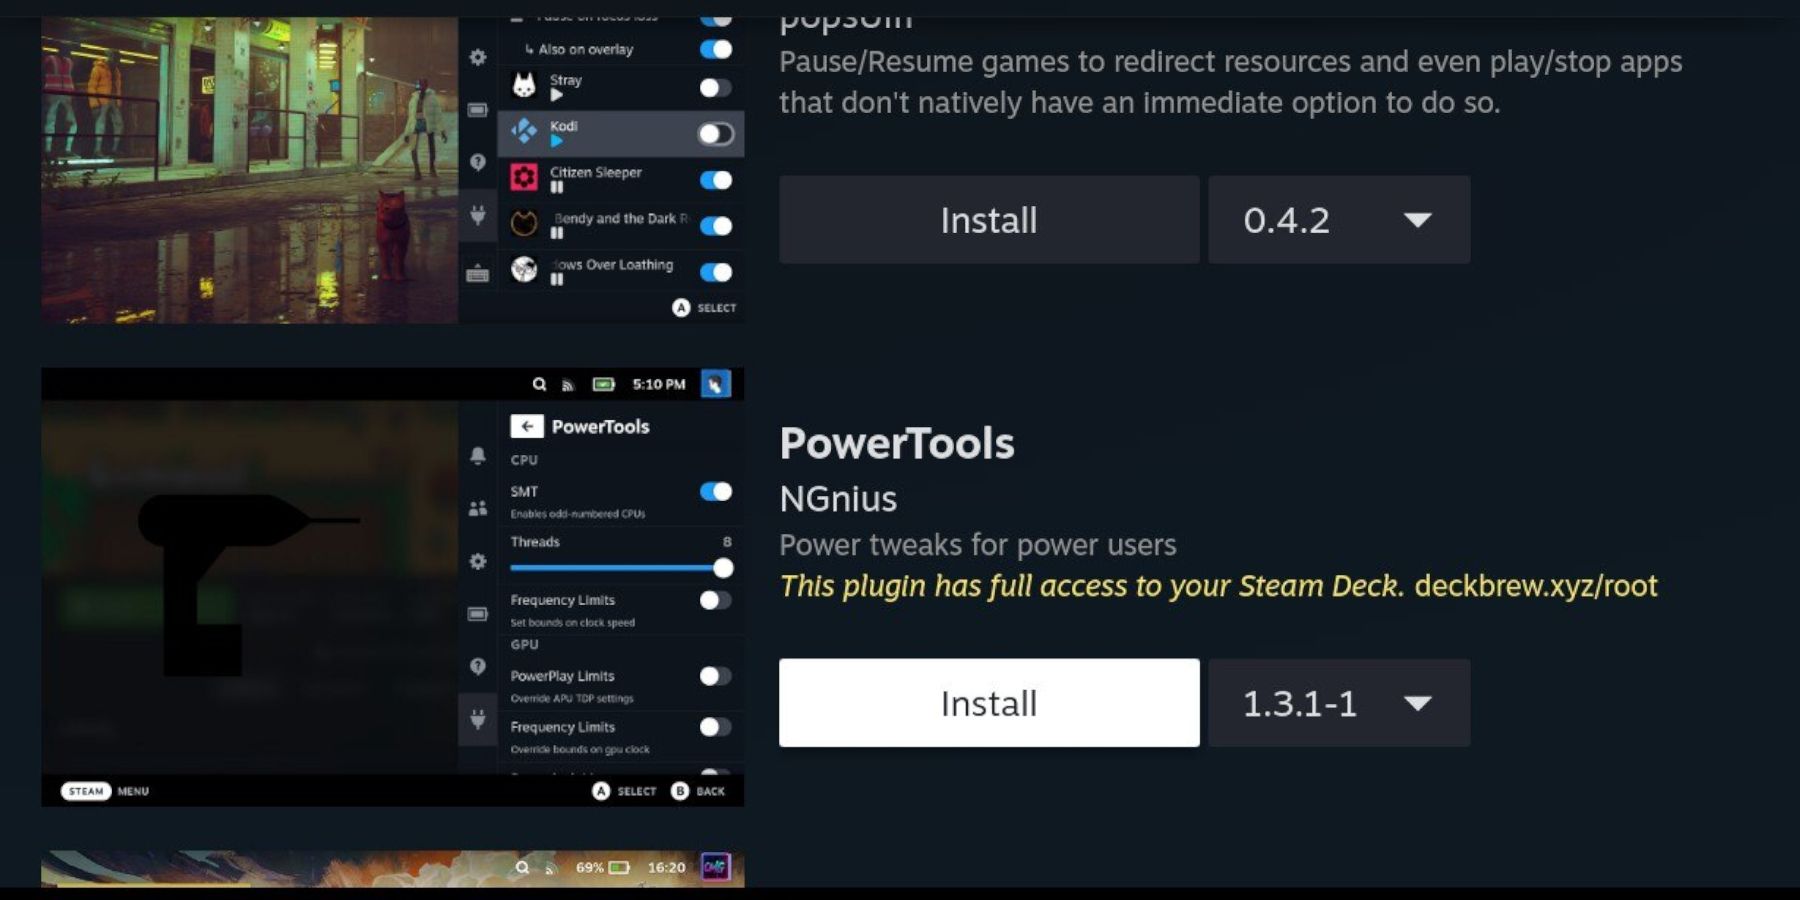
- Access the Decky Loader plugin store (via the QAM).
- Install the Power Tools plugin.
- Configure Power Tools (disable SMTs, set threads to 4, adjust GPU clock if needed).
Troubleshooting Decky Loader After a Steam Deck Update
 If Decky Loader disappears after an update:
- Switch to Desktop Mode.
- Re-download Decky Loader from GitHub.
- Run the installer (using
sudo). - Restart your Steam Deck.
 Enjoy your Game Gear games on your Steam Deck!