A Zone in Kuroku’s Basket: Showdown plays a pivotal role in maximizing your performance on the court. While every Zone brings its own set of advantages, their effectiveness varies depending on your position. To help you navigate this, we’ve curated the following Kuroku’s Basket: Showdown Zones tier list, ranking Zones based on their overall power and utility.
Kuroku’s Basket: Showdown Zone Tier List
In this tier list, we’ve prioritized Zones based on their raw strength and versatility. Although rarer Zones tend to be more powerful, there are exceptions. For instance, the Shooter Zone is exceptionally valuable for Shooting Guards (SGs), providing unmatched shooting accuracy.
Best Zones for Each Position:
- Point Guard (PG): Focused, Quiet, Skilled, Smart, Shooter
- Shooting Guard (SG): Shooter, Focused, Skilled, Smart
- Small Forward (SF): Furious, Focused, Skilled, Shooter
- Power Forward (PF): Furious, Giant, Smart
- Center (C): Giant, Furious
List of Kuroku’s Basket: Showdown Zones
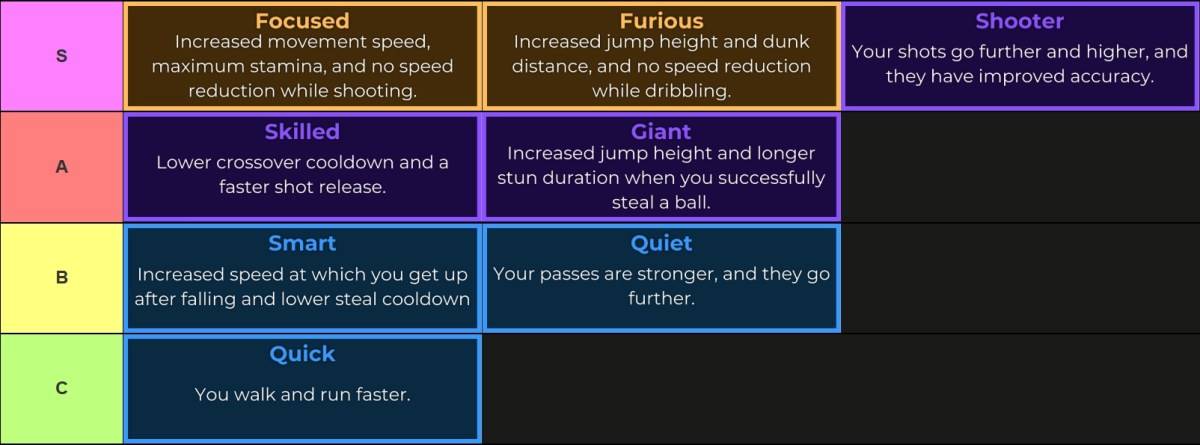
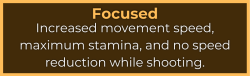
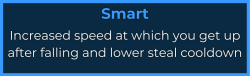
Each Zone grants a temporary buff that lasts until your Zone bar depletes entirely. Below is a detailed breakdown of all Zones, their bonuses, and ideal positions.
| Zone | Bonuses | Description | Tier |
|---|---|---|---|
 |
|
| S |
 |
|
| S |
 |
|
| S |
 |
|
| A |
 |
|
| A |
 |
|
| B |
 |
|
| B |
 |
|
| C |
How to Reroll Your Zone in Kuroku’s Basket: Showdown
To reroll your Zone, head to the Zone menu and select either regular or lucky spins. Regular spins cost $2,000, while lucky spins guarantee an Epic or rarer Zone. Lucky spins are accessible through codes or Robux purchases. Additionally, you can buy Zone storage to toggle between multiple Zones.
That wraps up our comprehensive guide to Kuroku’s Basket: Showdown Zones. If you're curious about pairing the perfect Style with your chosen Zone, check out our Kuroku’s Basket: Showdown Style tier list.